Here you see the Stumpy frame with the FreeRadical bolted in place.

The installation of components like the crankset, brakes, stem and handlebars is fairly straightforward so I didn't bother taking any pictures of that. If you've built a bike before you know that most of those components install without needing any special attention.
Here is a closeup of the FreeRadical with the rear V-brakes and Shimano XT rear derailleur installed. The derailleur was later replaced with an inexpensive but toughly-built Alivio unit. No matter how much fiddling I did, I simply couldn't get the XT unit to shift cleanly. It would seem that at some point it took a hard enough hit to push the cage out of alignment. As a result it tended to want to skip gears or shift up or down on its own.

The Suntour front derailleur ended up being one of the only original components circa '94 to remain on the bike. Even it needed a bit of attention though. At some point the cage was bent out of shape and a bit of time with some pliers was needed to get it bent back into proper alignment so that shifting of the chainrings could be done with no difficulty. Originally the bike came with a Suntour Micro Drive crankset. I still have the crank arms in my toolbox, but the chainrings, which had worn out are long since gone. This crankset was a later replacement but had almost no wear on it, so was okay to continue using for the Xtracycle build.

The original Specialized stem and handlebar had to be replaced with something that would allow a less aggressive riding position. The original stem put the handlebars almost three inches lower than the saddle. Great for fast trail riding on technical singletrack but pretty uncomfortable for long distance rides hauling cargo. An adjustable stem and riser bar would make for a more comfortable riding position. Adjustable stems can be great for finding the perfect position for your handlebars, but this particular stem, made by Zoom is junk. In spite of being tightened down as tight as can be, it still exhibits up and down movement under force. I have a Ritchey adjustable stem on my regular commuter bike and it is a far more secure design than the Zoom design. I'll use the Zoom stem on a couple more rides to be sure of my position at which point it will be replaced with a solid stem of the proper angle.

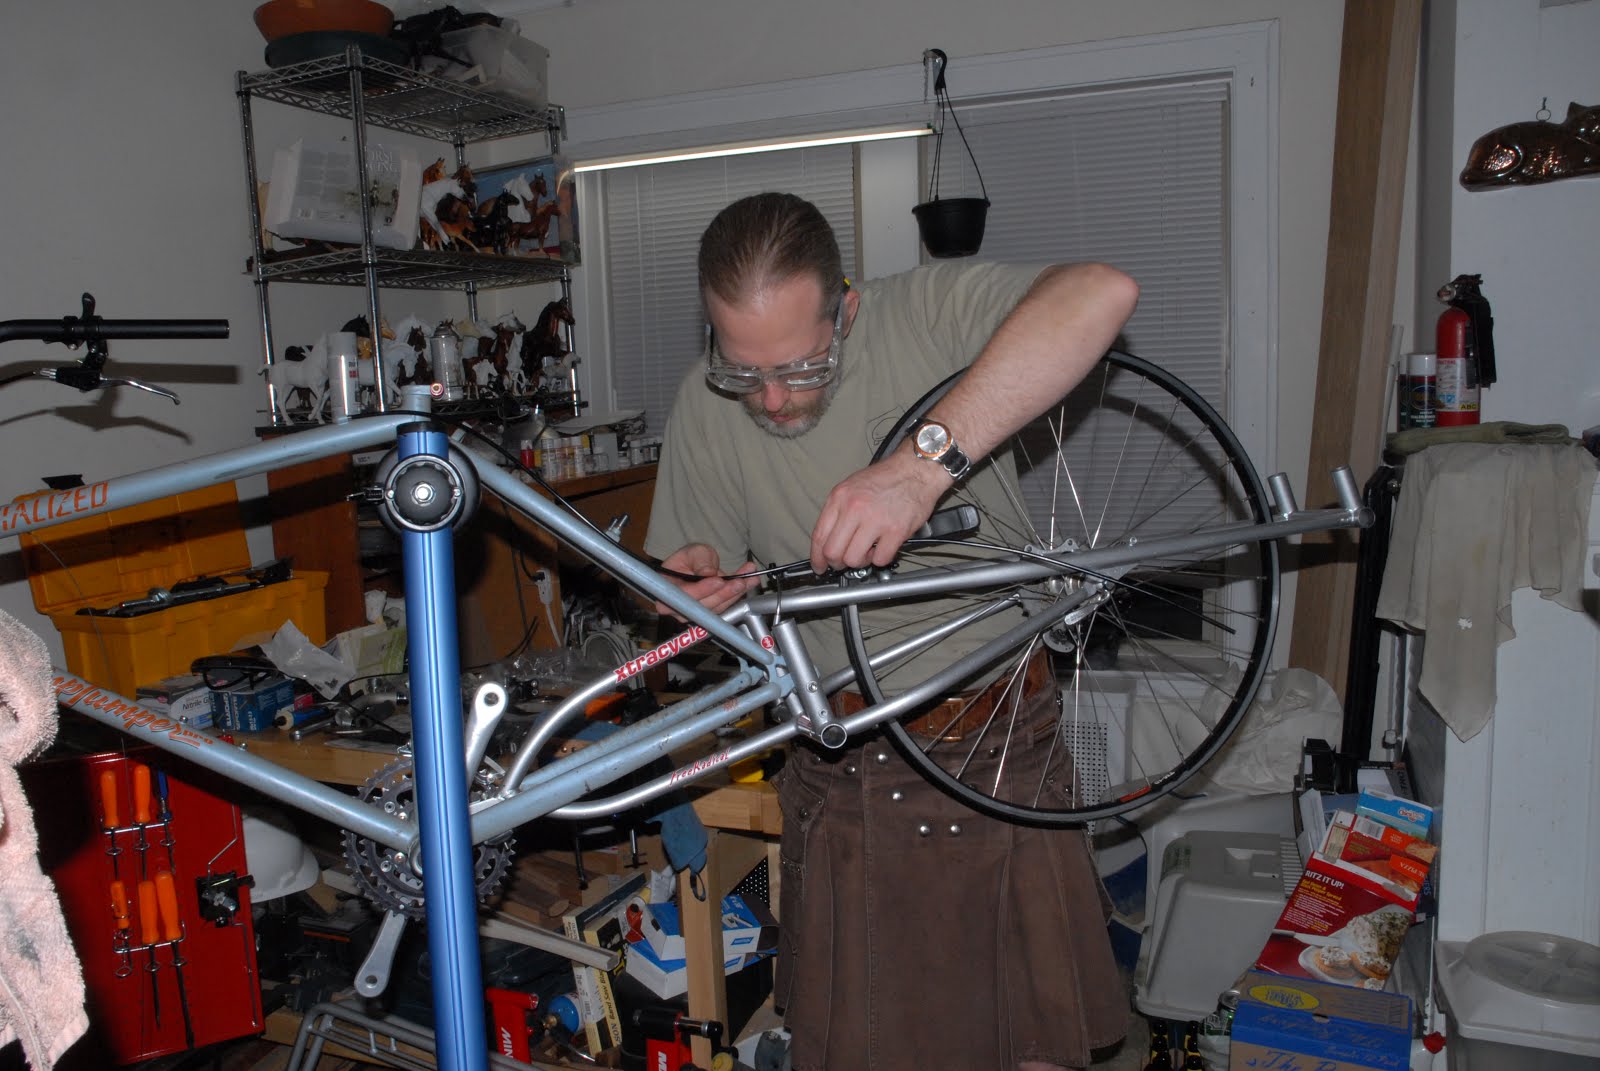
Next comes running the cables. Xtracycle provides a couple tandem-length cables for both the derailleur and rear brakes along with suitable housings and cable ferrules. I'm wearing safety goggles because I like to use a Dremel to cut my cable housings.
Using a Dremel tool with a metal cutoff wheel makes for a far cleaner cut on brake and shifter housings than even using dedicated housing wire cutters. It takes a few more minutes but it makes for a far nicer end result. Kids, always wear your saftey goggles when using power tools. Since I wear glasses, I prefer to use Eye Armor safety glasses since they're designed to be worn over prescription glasses, and they come in their own nifty microfiber bag which can be used to clean the lenses.

Follow up cutting the housing by cleaning out the inside with a small drill bit. I use a 5/64" bit and simply push it into the housing end by hand, giving it a little twist to force it in and clean any burrs that will cause drag on the cables.

The forward most bit of the FreeRadical is anchored in place on the chainstay bridge by a little flat piece of metal that Xtracycle creatively calls a "FAP" for Front Attachment Plate. A simple nut and bolt holds the FAP in place. Xtracycle includes a small piece of self-adhesive carpet to stick onto the FAP so that it won't mar the surface of your bike frame. I found that the carpet piece allowed the FAP to move a bit more than I care for whilst tightening the nut and bolt down, so I encased it in a section of scrap inner tube. Unfortunately, now I had a big block of metal that my unprotected rear derailleur cable was going to have to run across. I envisioned this causing not only drag on the cable but also that the action of the cables movement was likely to chew up the inner tube over time. So, I crafted a little piece of shifter housing with two ferrules to protect the cable on its run along the bottom edge of the FAP.

A couple zip ties hold the mini housing in place on the FAP.

Still to go on the build: pedals, tires, bar ends, and a spiffy wooden deck with a tale of compromise. Stay tuned for, "Birth of an Xtracycle: Part 3!"
Just wondering what kind of pants you are wearing....they look vintage from a foreign
ReplyDeletemilitary.
George C - that's a "Utilikilt" - basically a heavy weight cotton duck kilt with lots of pockets. Good for knocking around the workshop.
ReplyDelete